


As you may noticed, this blog is full of zero waste ideas already. Sustainable living is not just a trend but getting more and more important. And since we all know that cling film or aluminum foil is anything but climate-neutral, environmentally friendly or up-to date, we want to introduce a useful alternative for everyday life: Reusable Beeswax-wraps made out of cotton. These can be used a hundred times over and over again. The hardening wax makes the cloths very easy to shape and keep them sticky. After use, simply wipe them off with water and use them again next time. You can use them not only to cover leftovers, but also to wrap up your lunch. This also saves you having to carry a big empty lunch box in your bag all day, after you’ve already eaten it. Apart from that, it’s also quite pleasant to produce less waste, isn’t it?!
The internet is full of the most complicated instructions for making wax wraps yourself. Since I didn’t want to completely drown the kitchen in wax, I came up with a simpler and cleaner solution – and it works wonderfully, too!
What you need:
– 100% pure beeswax
– 100% cotton fabric (washed already)
– An iron
– baking paper
– an oven
Optional:
– a pair of jagged fabric scissors
– a little coconut/almond or olive oil
1. As I didn’t have any ready-made wax pellets, but used a beeswax candle, I had to grate it into fine pieces first. This makes it easier to spread the wax on the cloths and it melts better. If you have ready-made wax pellets, you’re lucky and can save yourself this step.
2. Cut your cotton fabric into pieces of the sizes you want. To prevent the fabric from fraying later, it’s best to use a pair of jagged fabric scissors. I recommend taking a plate, a bowl or similar things that you want to cover with the wax-wraps later, to compare them with different sizes. This will help you to estimate which sizes are useful for you. However, it should still fit on the baking tray. I have made different sizes for jars, bowls and tins.
3. Preheat the oven to 80 degrees. Place baking paper on your baking tray and place your cut piece of fabric on top. Then spread beeswax evenly over the fabric. As my rasps were very fine but still large, it looks like a lot of wax in the pictures. From experience you should use about 2-3 tablespoons of beeswax on a medium sized cloth (20x30cm). If you don’t want your cloth to end up too hard, you can optionally add a few drops of oil to the cloth at this point. Then put the tray in the oven.
4. It usually takes no more than 1-2 minutes for the beeswax to melt completely. You can observe this very well as it melts quite quickly. Remove the baking paper with the wet melted wax from the oven and place it on an ironing board or iron-resistant surface.
5. Place another piece of baking paper on the cloth and slowly iron it completely. Remove the top piece of baking paper after. Now you can see where there may not be enough wax yet. Take some more wax and spread it on these areas and iron it again with baking paper.
6. When the wax is evenly ironed onto the fabric, you can pull it off the baking paper. Be careful with this step. The cloth can still be hot! As the wax dries and gets cold quickly, it is enough to wave the piece of fabric back and forth a little. Otherwise hang it on a clothesline. It is only important that it dries straight and is not placed on a surface, as it would stick there.
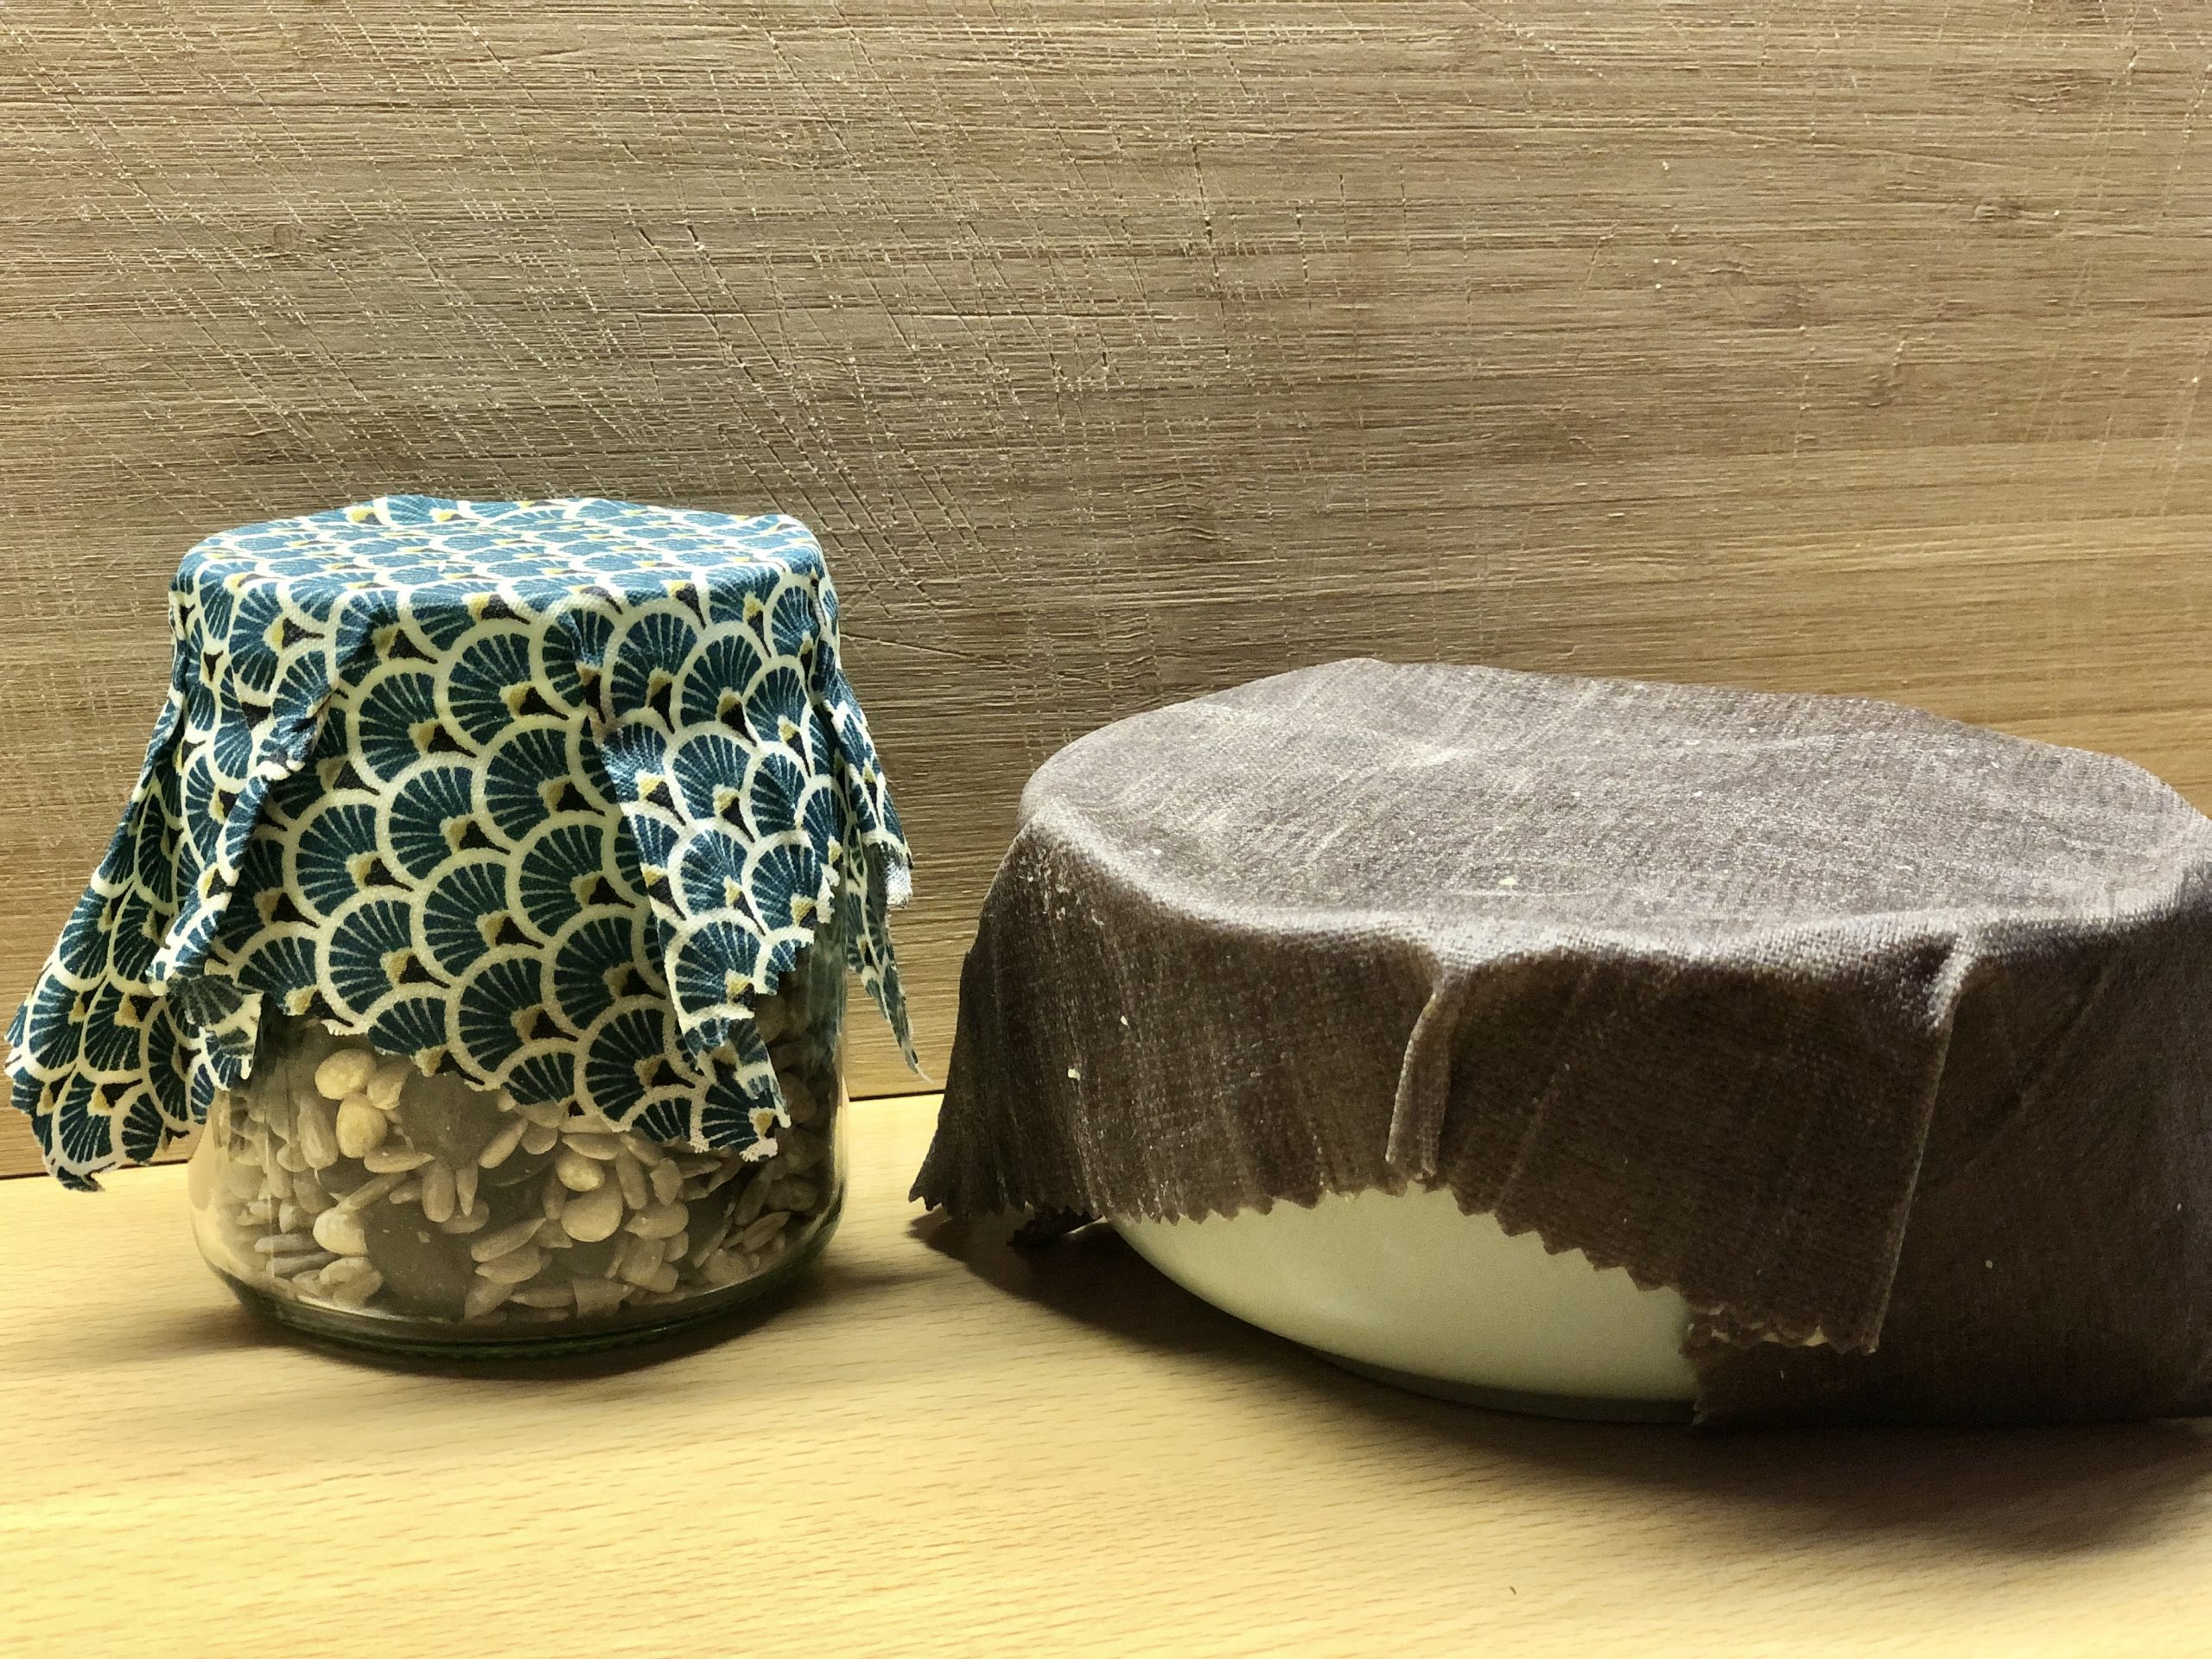
7. When your cloth is dry, your sustainable cling film replacement is ready. You can now use your beeswax-wrap!
Tip: Even if this method is cleaner than heating wax in a water bath and spreading it with a brush, it still may be that the wax has ended up in your kitchen or other places where it doesn’t belong. That’s annoying – I had that too. However, everything can be completely cleaned up with boiling hot water. Don’t panic! 🙂


No Comment