


As a student living in a flat share, I know very well: gardening space is a rare thing for most young people. But these little vitamin bombs are perfect for everybody who wants to do big things with little space: sprouts.
Sprouts are versatile. Not only do they contain many important nutrients, they also taste good and visually spice up meals. They are particularly good in cold dishes such as salads or as a topping, or in soups or smoothies.
Sprouts have these health benefits:
- Seedlings and sprouts are full of nutrients like vitamins B1, B2, C, E
- They are rich in fibre and important proteins and minerals like Iron, Zinc, Magnesium, Calcium and Phosphorus
- Their enzymes regenerate the intestinal flora
According to Tobias Cuoco, who has written a booklet with assistance for sprouting, the concentration of vitamins and minerals are twice as high as in the full-grown plant. Sprouts come in varieties like Alfalfa, Fenugreek, Broccoli, Chickpeas, Lenses, Radish and Mustard. Each variety tastes different and goes well with other dishes- find out which seeds might taste best to you.
If you want to try growing sprouts, follow these simple steps:
For your cultivation you only need a sprout glass with a draining holder and a sieve (you can easily buy one on the internet), indirect light, air circulation and a lot of moisture. But every sort of seed has different needs, so always read about it and be aware, so your sprout cultivation is a success. Also make sure that the quality of the seeds is high and organic. The following instruction is for radish sprouts, which tastes spicy and slightly hot, but in a pleasant way.
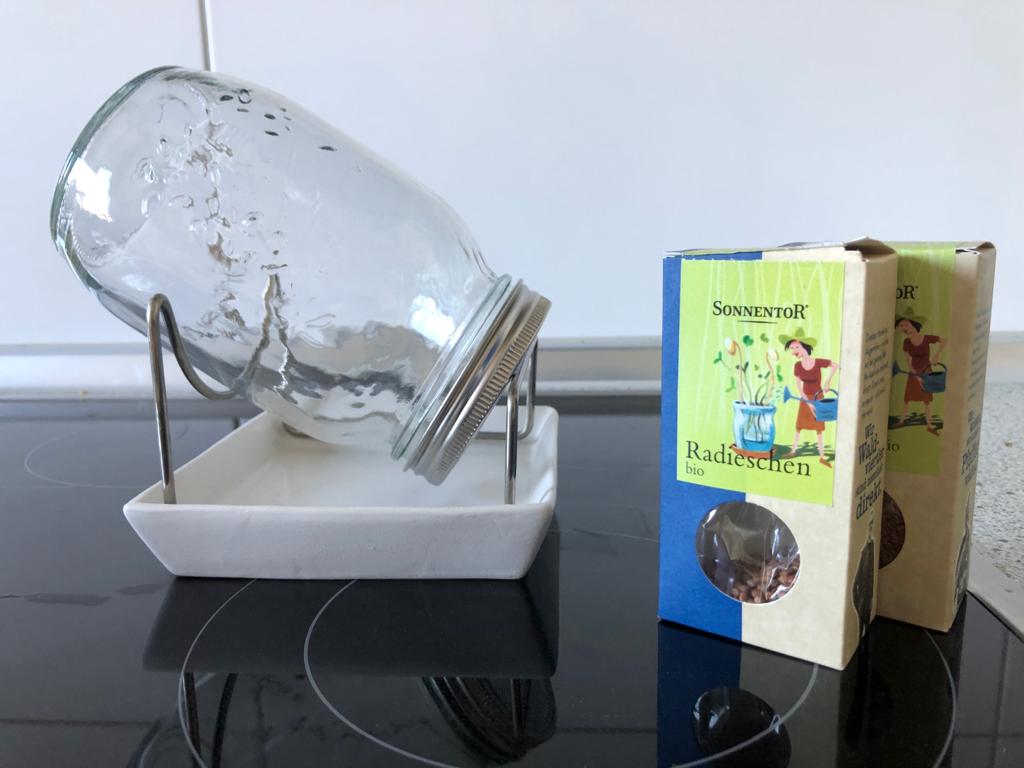
Sprouse Glas and Seeds of Radish (Photo: Pauline Hempel) 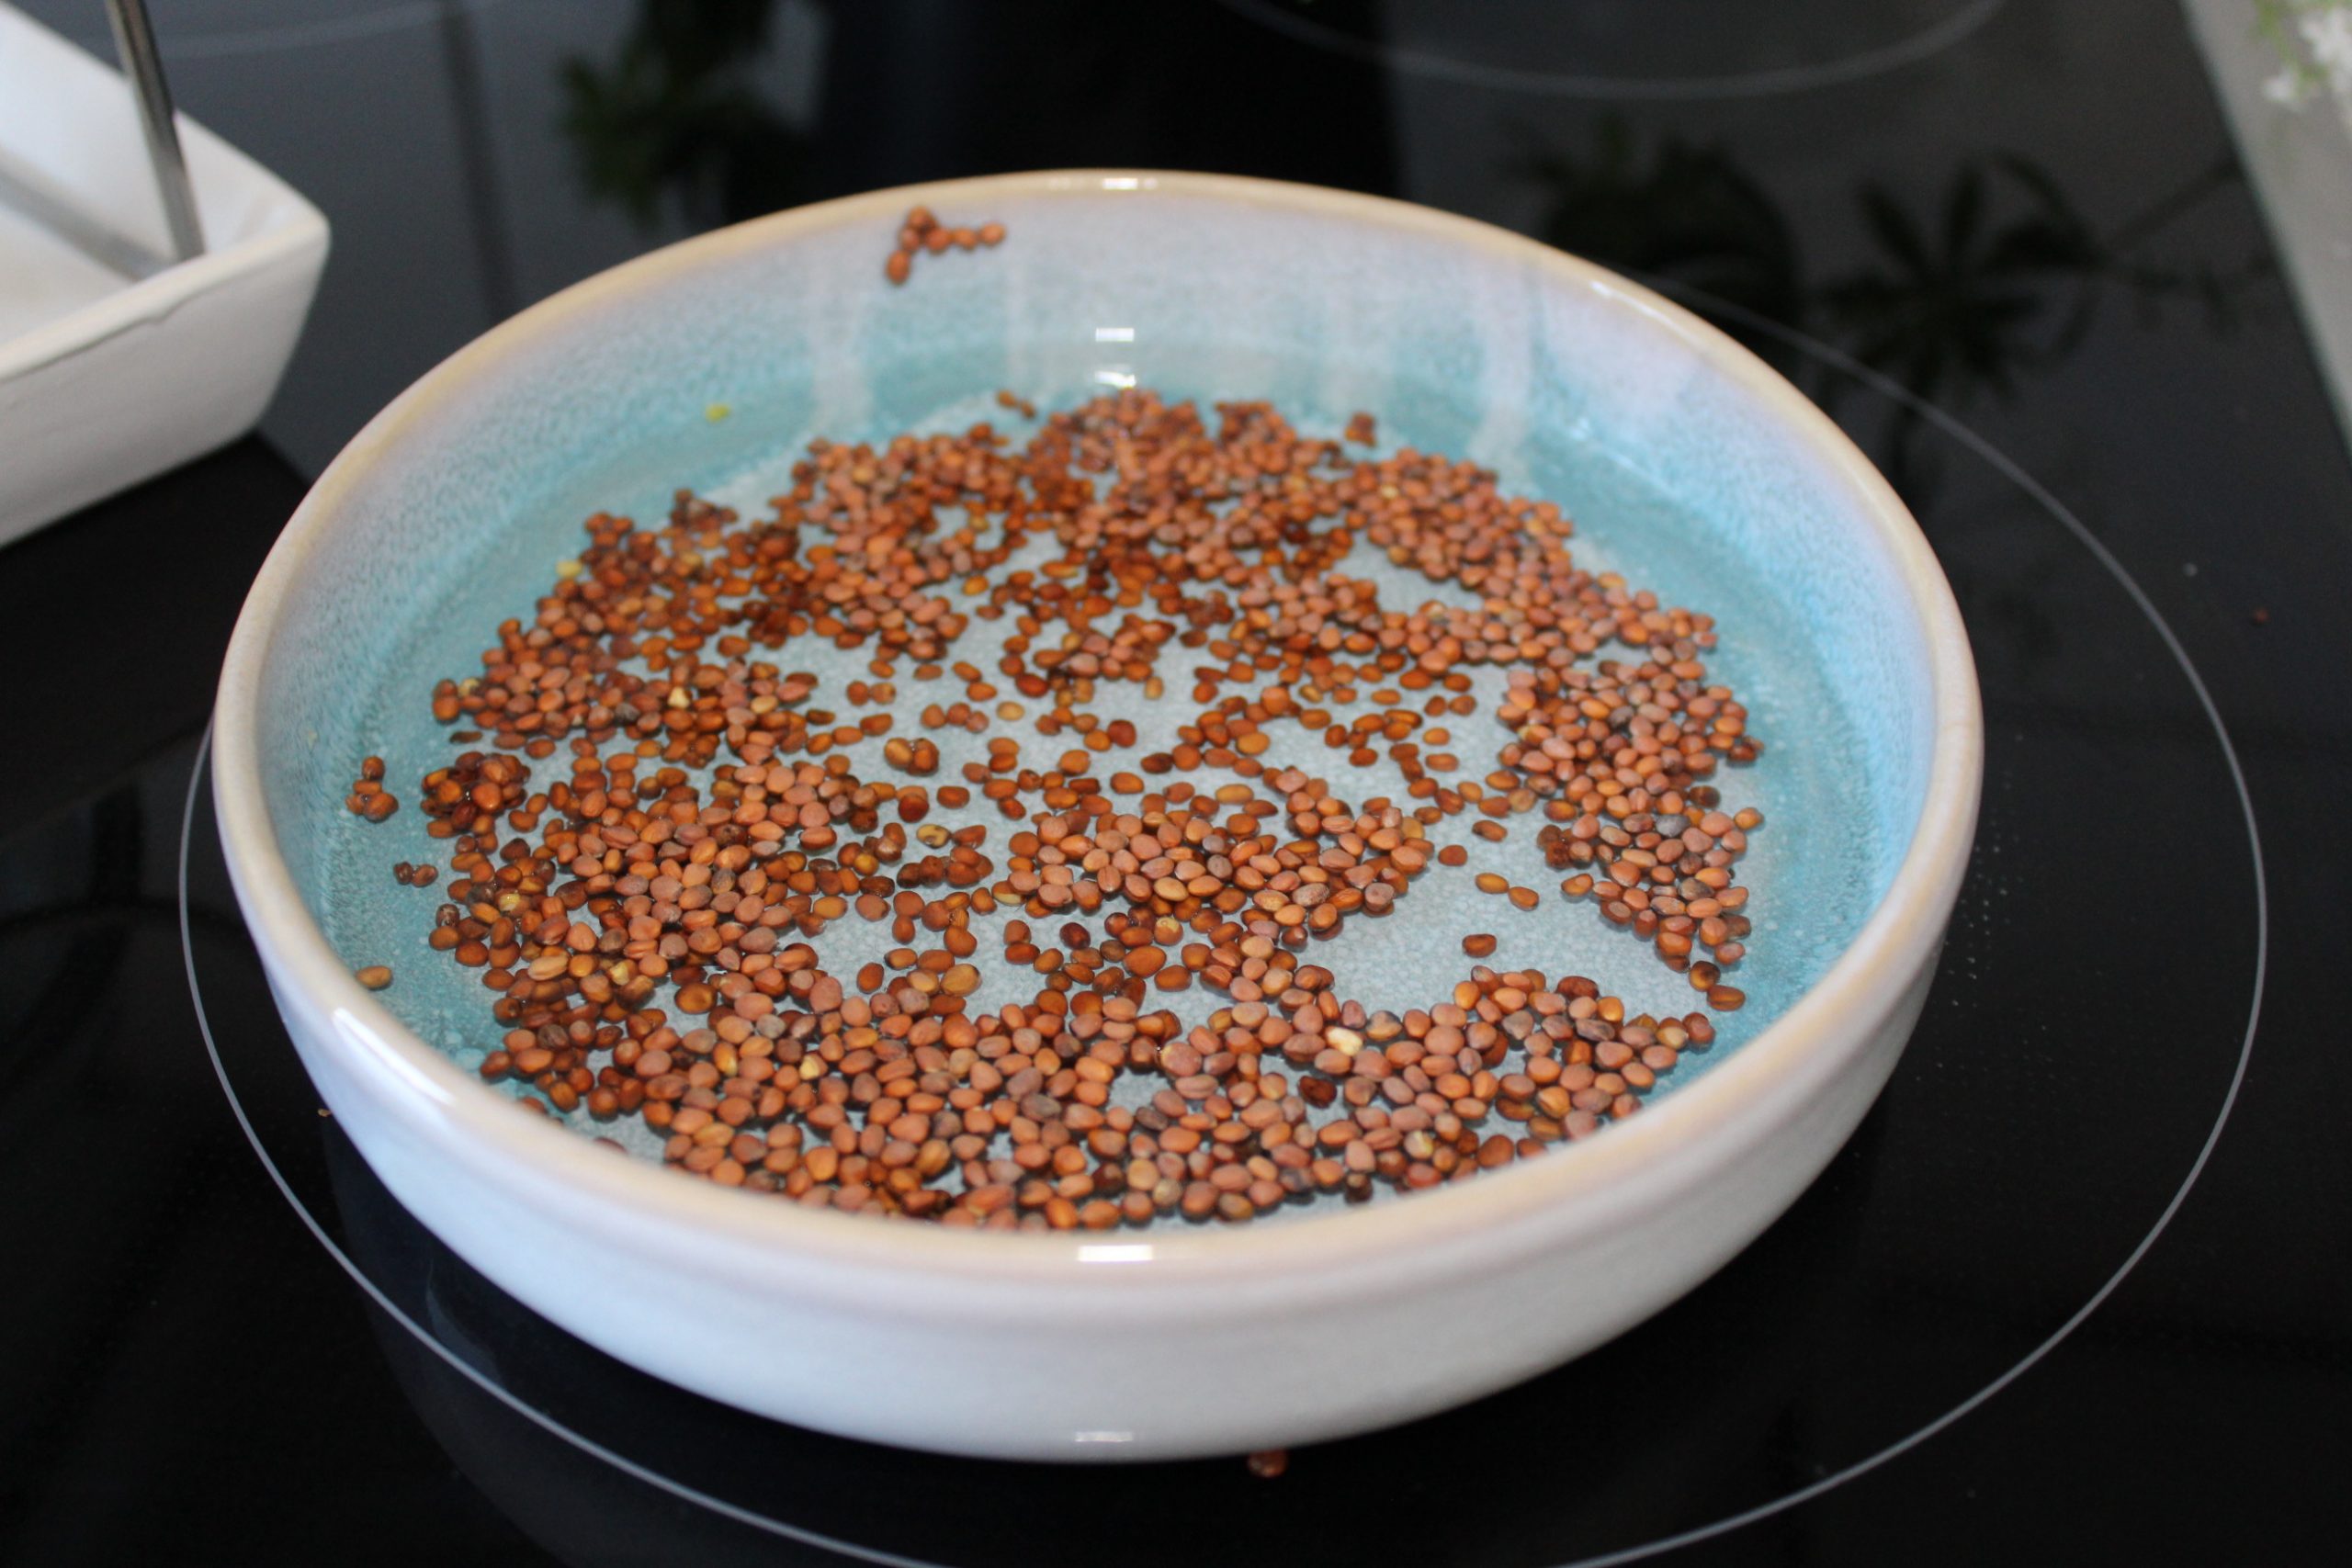
First step: Picture of seeds in the water (Photo: Pauline Hempel) 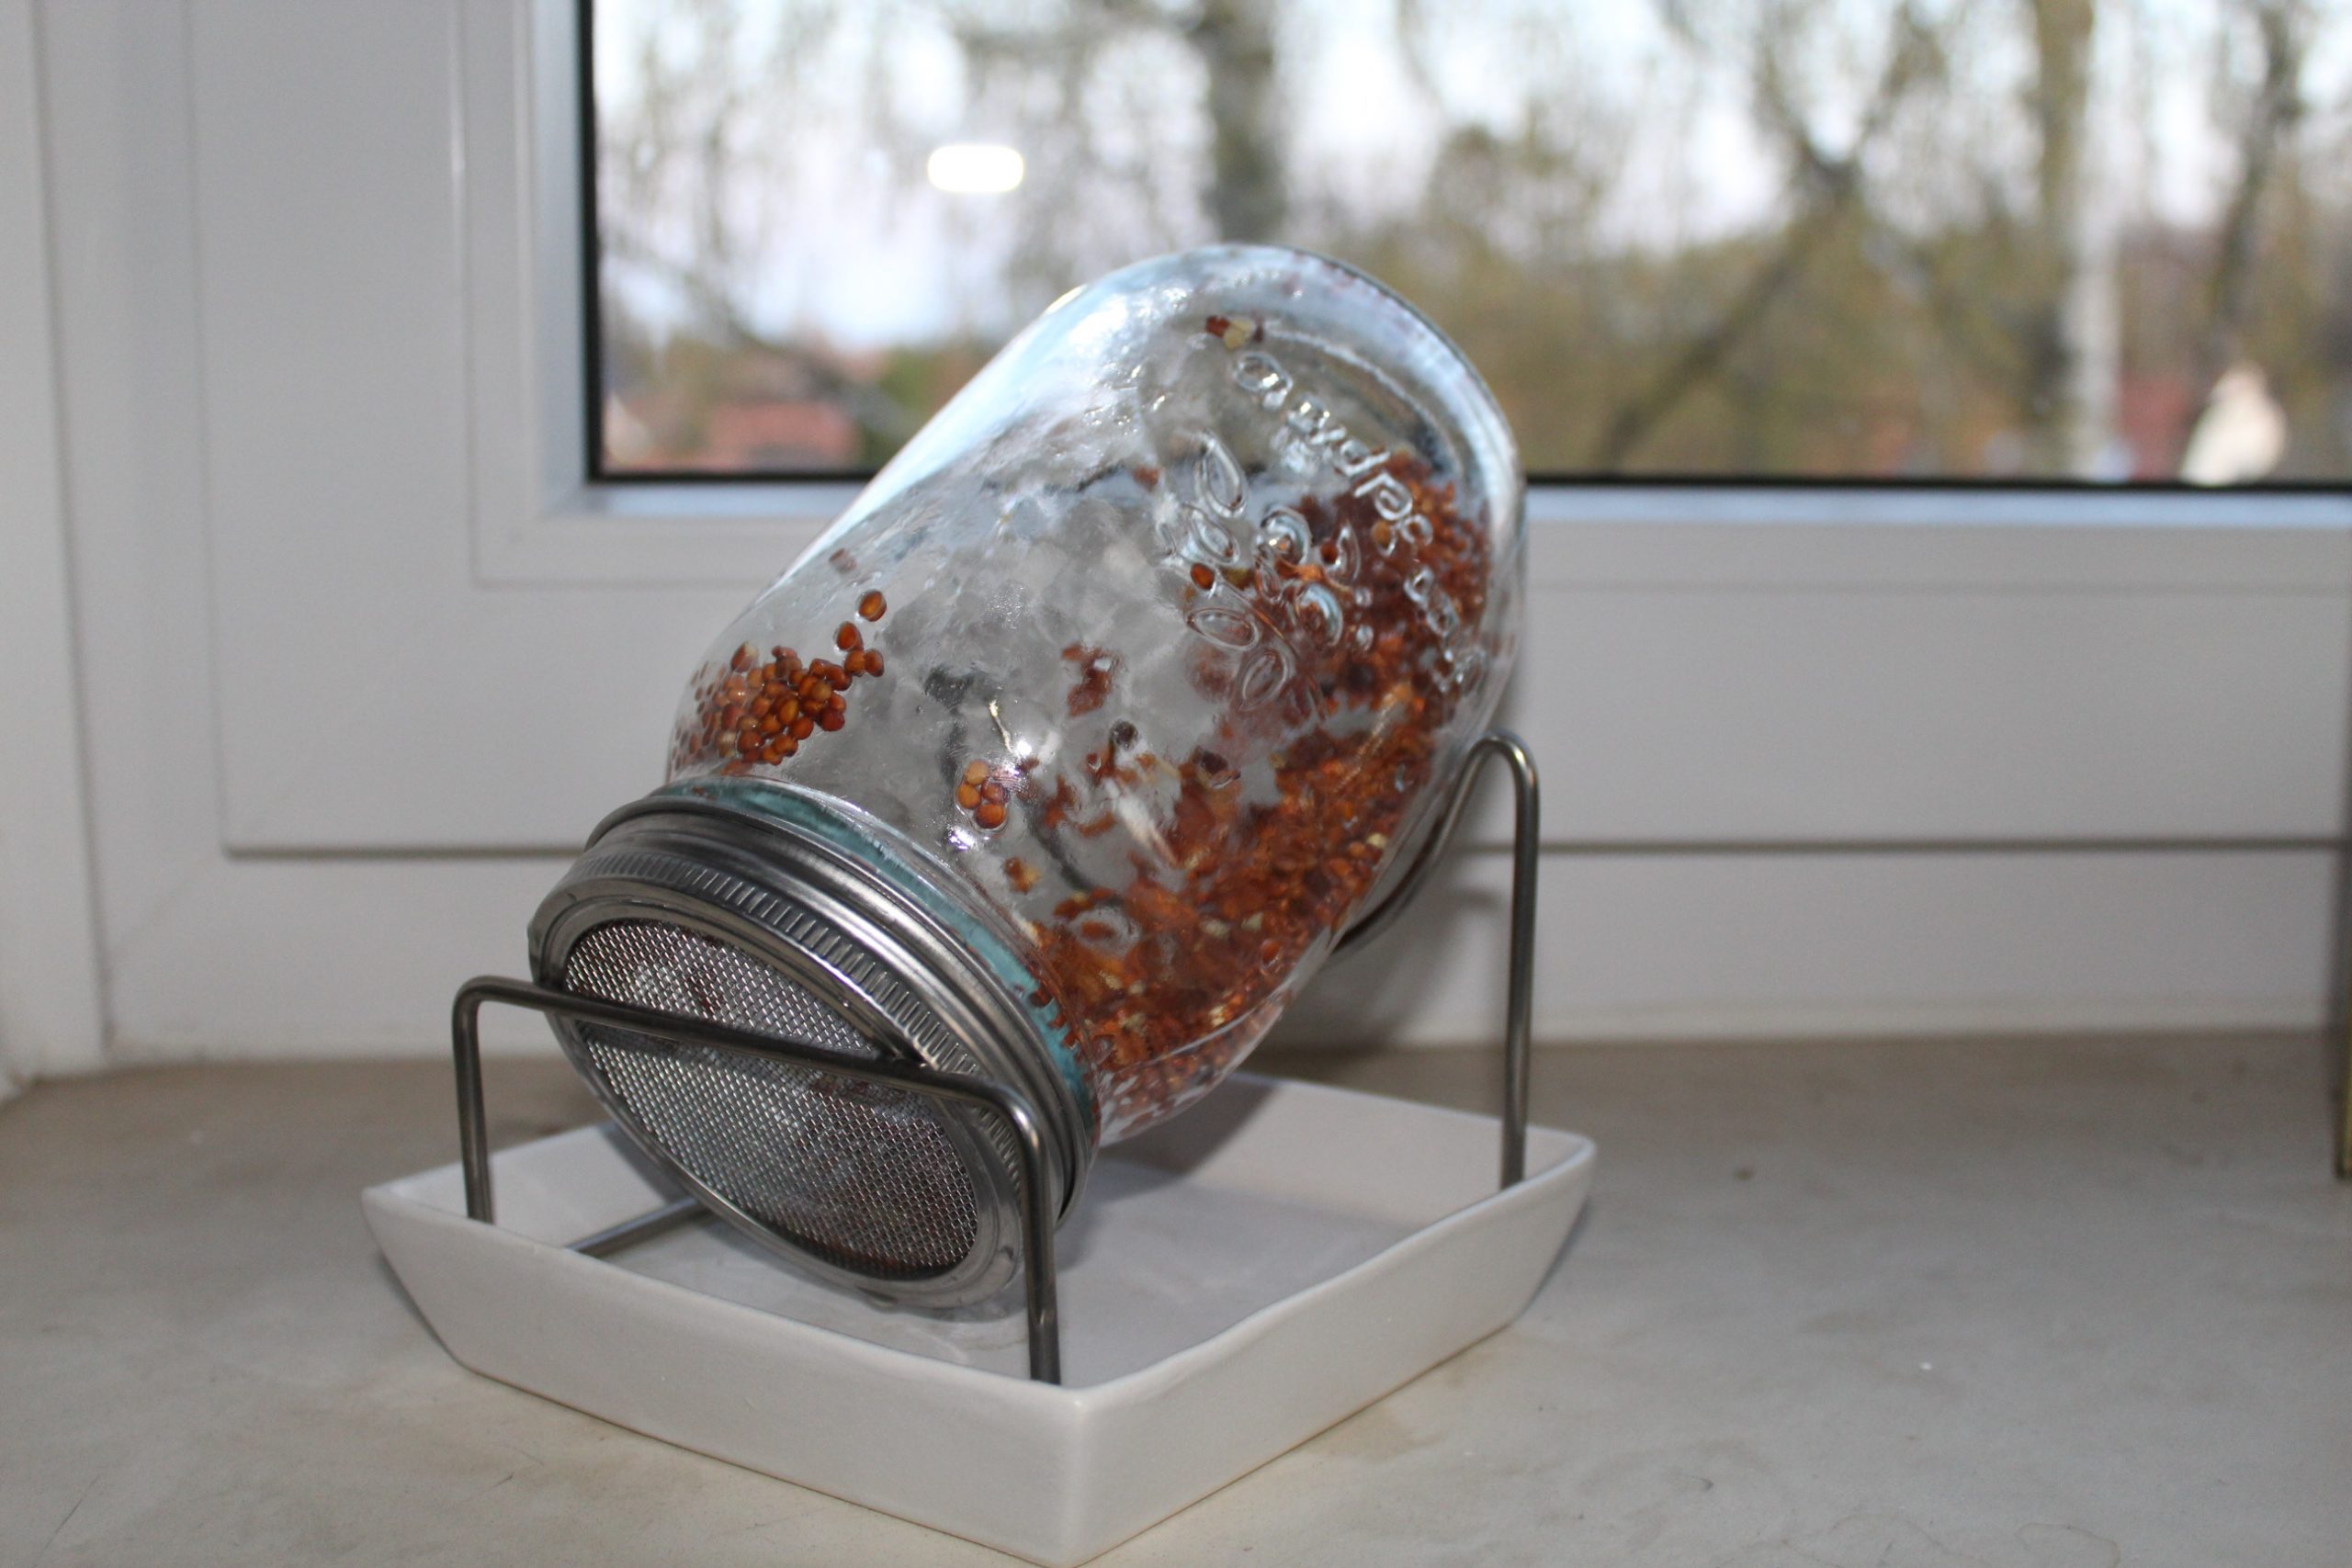
Second step: Picture of the Jar (Photo: Pauline Hempel) 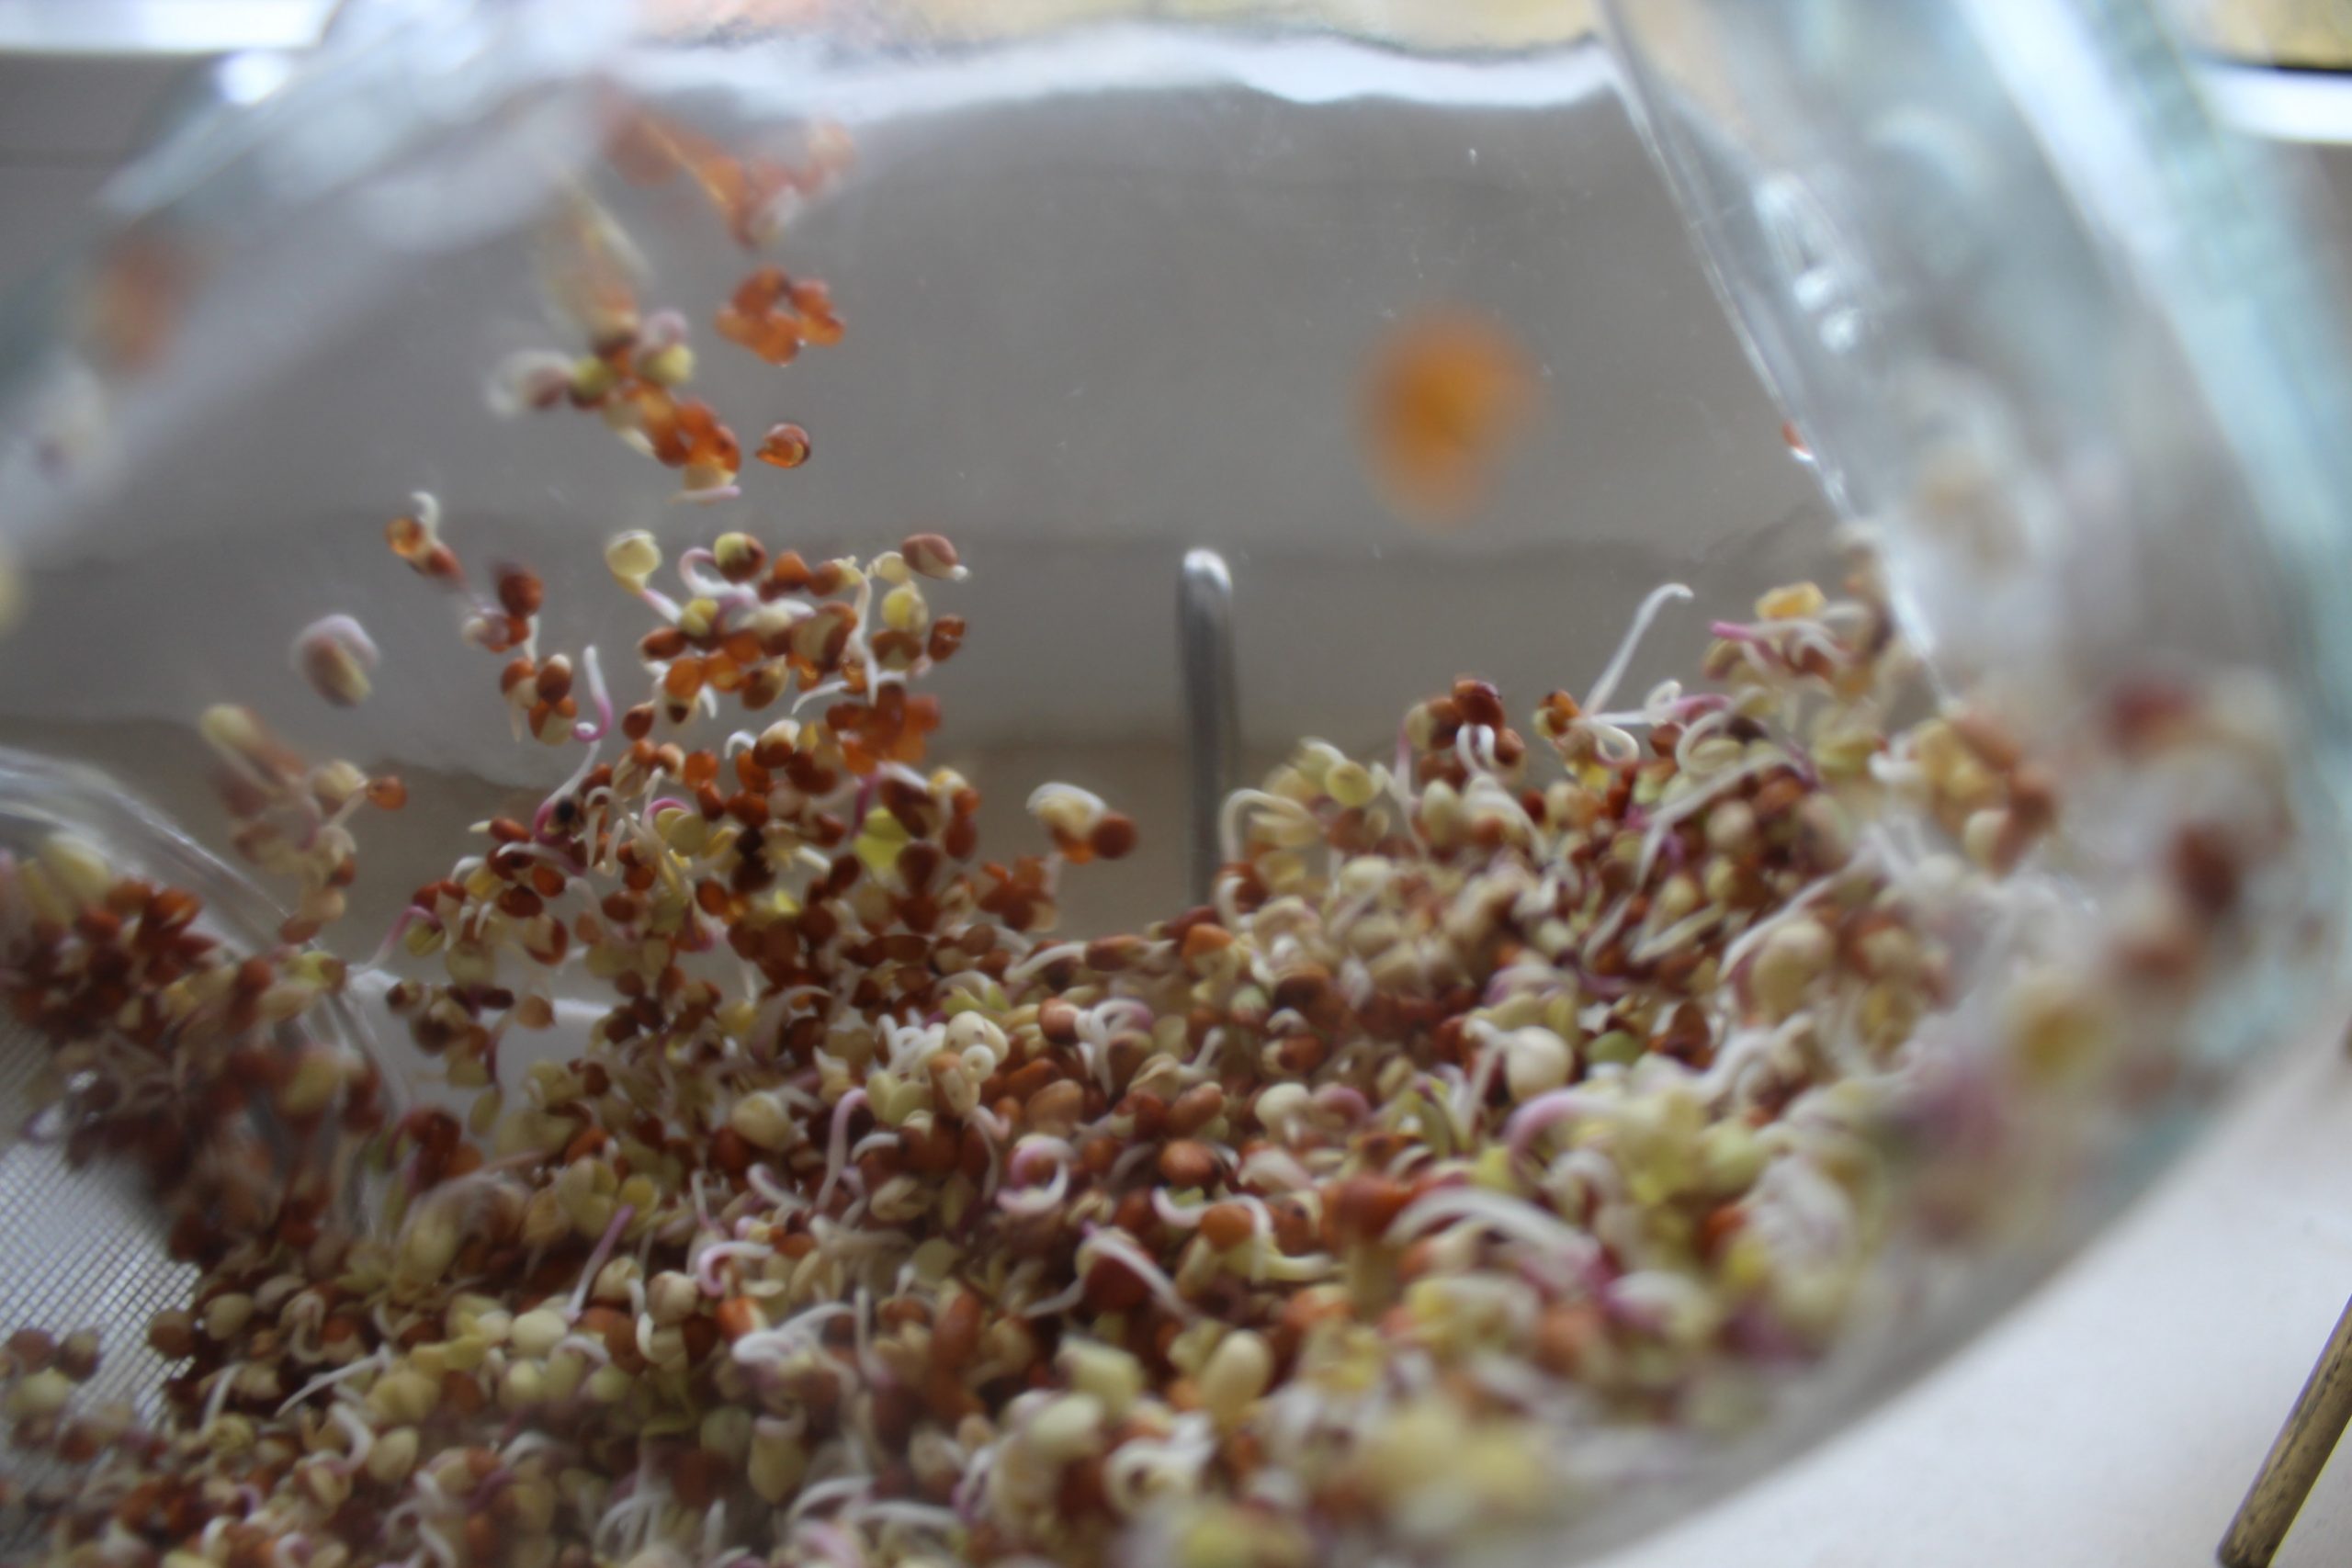
Third step: Picture of germinating sprouts (Photo: Pauline Hempel) 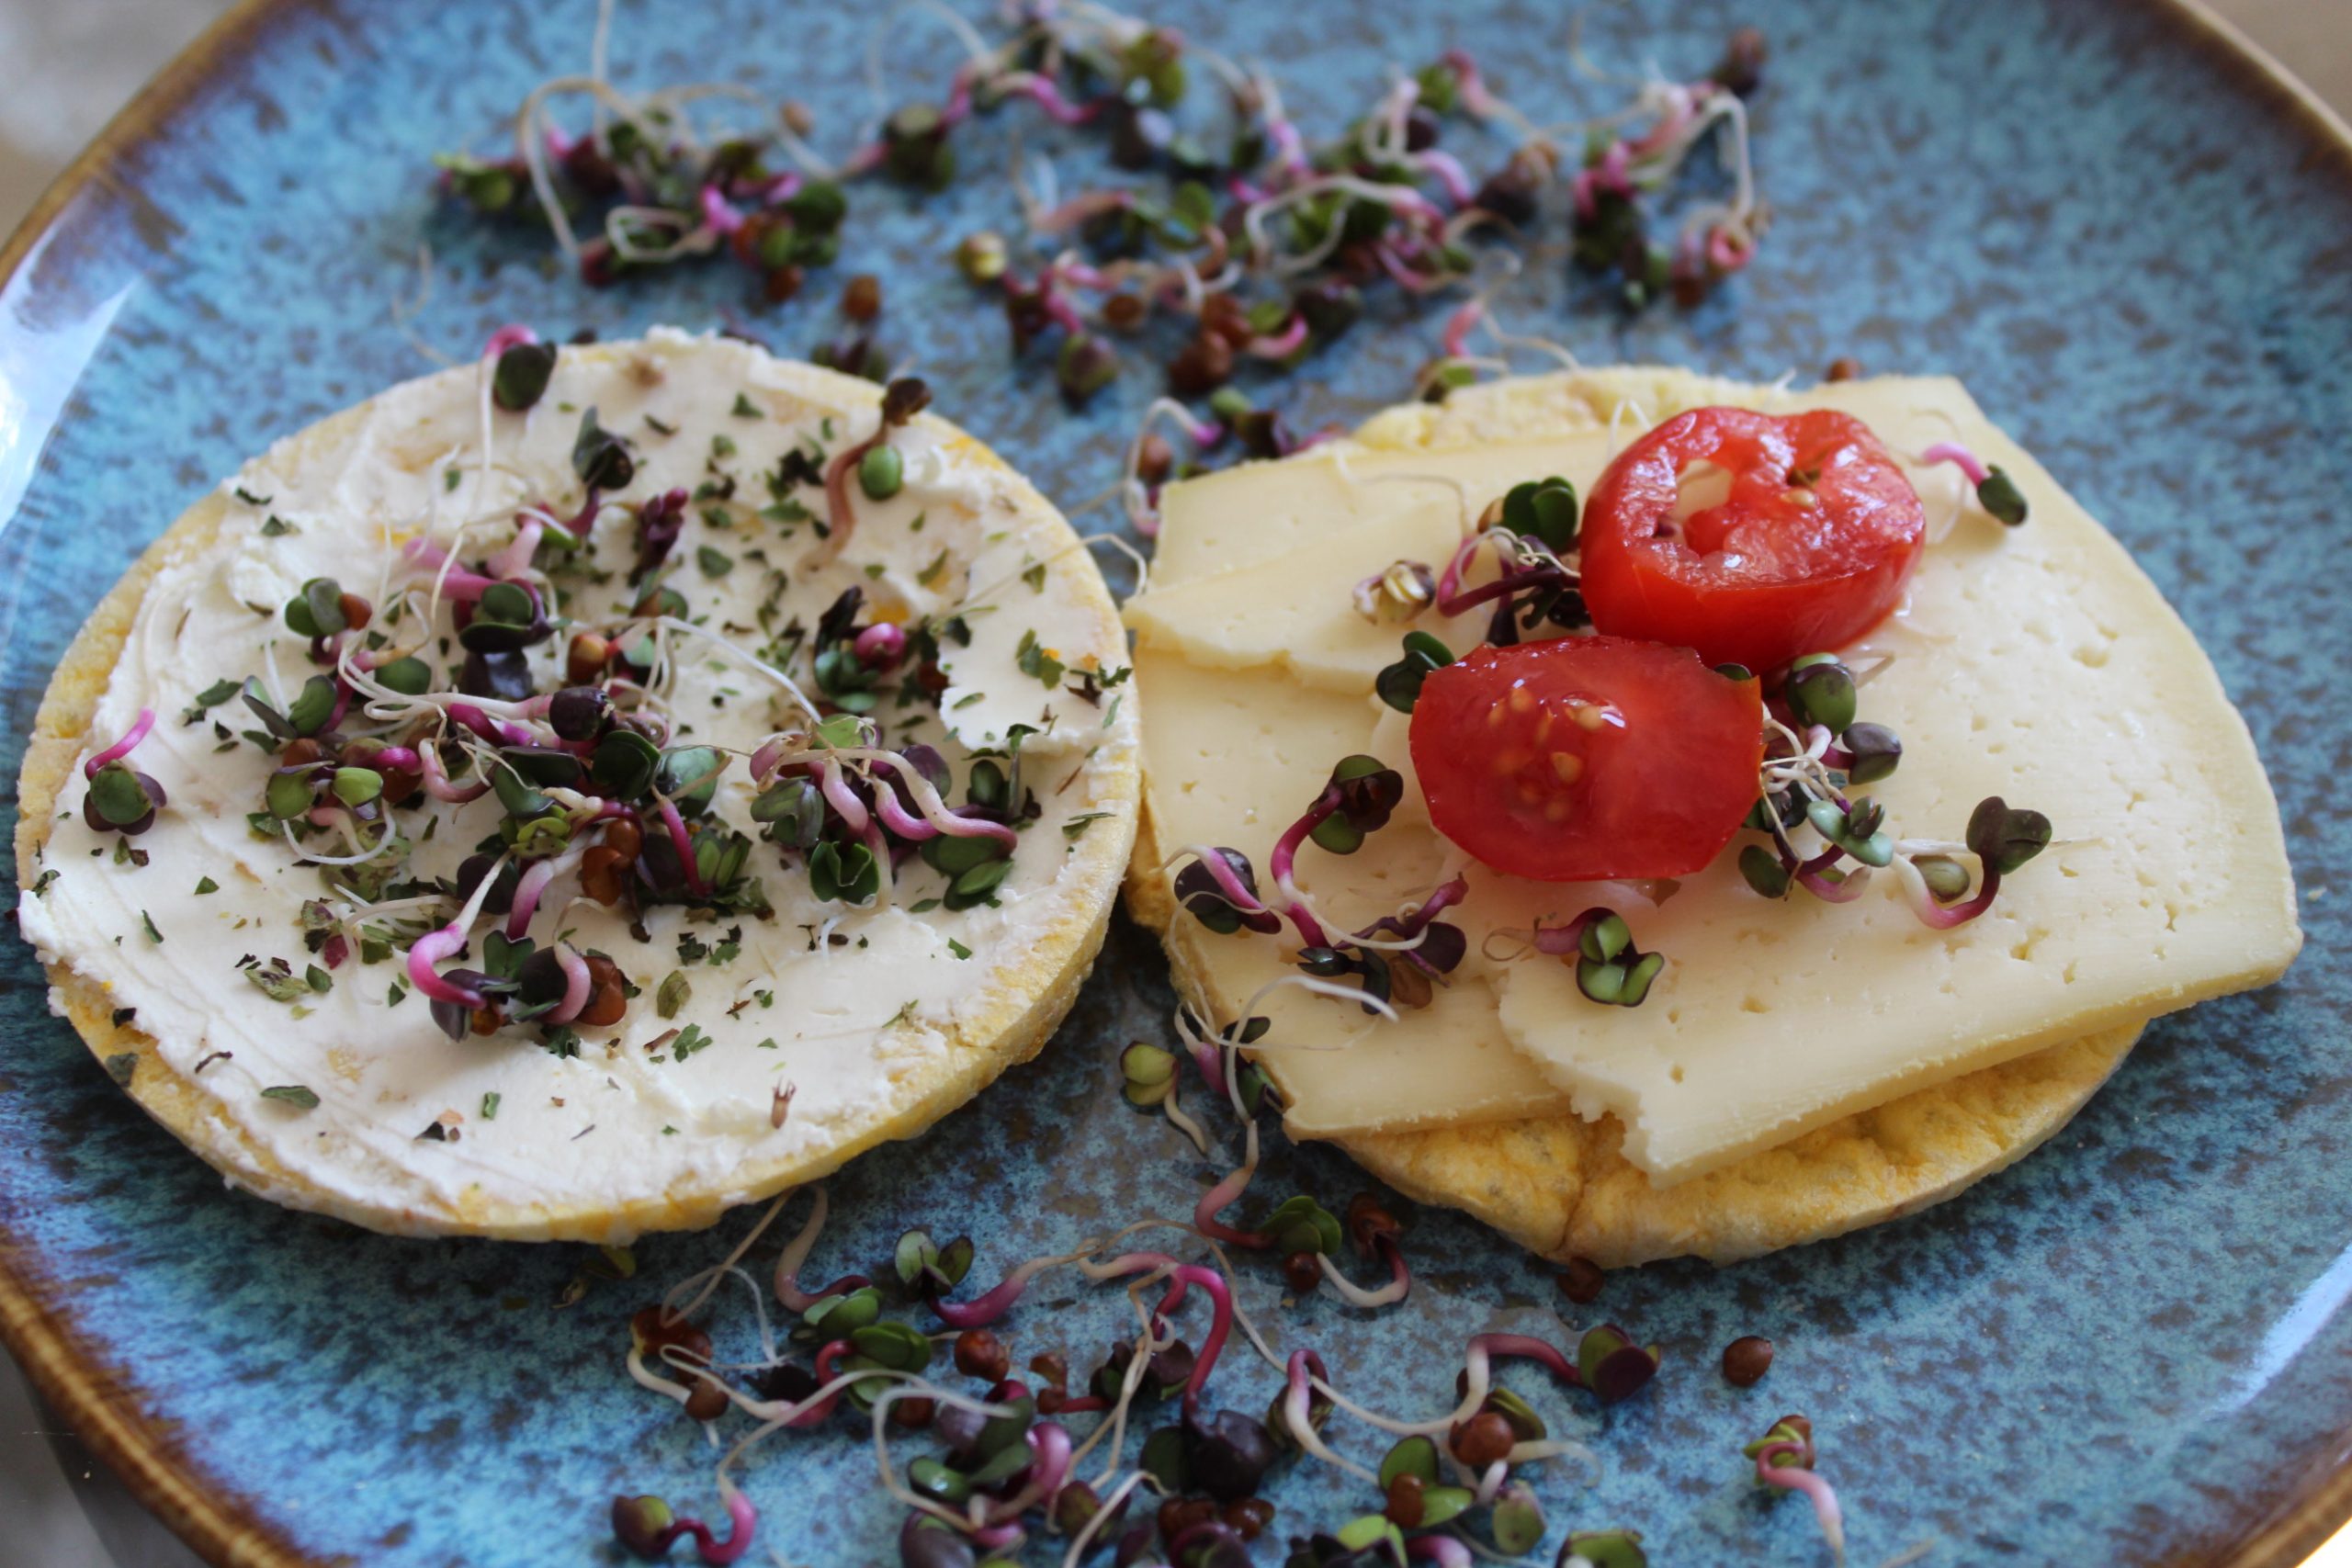
Fourth step: Radish Sprouts as Topping (Photo: Pauline Hempel)
First step: Most seeds need to soak in water for several hours. This activates it’s metabolic process. Radish seeds need to soak for 6 to 8 hours. Afterwards you put the bloated seeds in your jar. Make sure the glass gets enough natural light on your windowsill. The perfect temperature for radish is approx 8-20°C.
Second step: Water your seeds so that they can germinate well. Fill the sprout jar with lukewarm water so that all the seeds are floating. Then slowly swirl the jar several times and drain it. Put the jar back in the holder so that the water left over can drain through the sieve and no mould forms. You should do this twice a day. Remember: natural light, air circulation and regular watering are the keys to success!
Third step: Now you should see a change and a development every day. Important: As soon as the seeds start to germinate and form small roots that are “hairy”, they can easily be mistaken for mould. Be aware to keep a close eye on this. After about four days, the sprouts can be taken out of the jar and enjoyed. The number of days can of course change depending on how good the conditions are or in which growth stage you like the sprouts.
Fourth step: You can enjoy your sprouts on different dishes. Personally I love sprouts as a topping on bread. How do you like them best? Have fun trying it out and feel free to share your results with #sproutingwithfhews!
No Comment