


Since spring has finally arrived, it’s time to bake something that feels and tastes like spring. Maybe it’s the connection with Easter but I always thought that carrot cake is a great thing to bake during spring.
But did you know, that the first mentioning of a carrot cake recipe was actually in 1591? Of course, back then it was more of a stuffed carrot with meat but the recipe for carrot cakes evolved a lot. In 1814 Antoine Beauvillers published a French cookbook with a later very popular carrot cake recipe. The French weren’t the only people, who liked these baked goods. The Swiss also published a recipe in the 19th century and carrot cake is a very popular birthday cake to this day in Switzerland. The French cookbook was translated into English in 1824. But the cake became only during the rationing of the Second World War really popular in the United Kingdom.
This recipe for carrot cake is a treat for the soul and a great way to kill some time. So, grab your KitchenAid and the ingredients and get to the baking!

Ingredients:
- 450g carrots
- 310g flour
- cinnamon
- salt
- 1 tbs. baking powder
- ½ tbs. baking soda
- 200g brown sugar
- 100g castered sugar
- 3 eggs
- 250ml sunflower oil
- 100g raisins
- 30ml milk (preferably almond milk or oat milk)
- 200g butter
- 325g cream cheese
- 270g powdered sugar
- 1 pack vanilla sugar
- 50g crushed walnuts
- Preheat your oven to 180°C and grease the round cake pan. Optimally, you have two pans, but one pan will do the job just fine. It will just take a minute longer.
- Begin by grating the carrots and set them aside for later. Next, stir together flour, baking powder, baking soda, a pitch of salt and as much of cinnamon, as you like. I used about 2 teaspoons of cinnamon.
- In a separate bowl, mix together the brown sugar, the eggs and the normal sugar until they are an even mixture. Now slowly add the sunflower oil.
- After that, carefully add the flour-mixture to the sugar-mixture one by one. Then, you can add the rest of the ingredients (If you want to, you can add a tablespoon of the flour mixture to the raisins, so the raisins can be mixed more easily into the batter). Which includes the raisins, the oat milk and the carrots. Be careful to use a spatula and fold them into the mixture, rather than stirring them with an electric hand mixer.
- Divide the spatter into two parts and put them into the prepared pans (Or in my case, the prepared pan). Now bake the cake for about 20-25 minutes. Be careful to check whether the cake is done or not by sticking a wooden toothpick or fork into the spatter. If something sticks to the toothpick, then you know that it’s not done yet.
- When the cake is done, let it cool out for about five minutes, before taking it out of the pan. Then, let it rest until the cake has cooled down. It’s important to wait long enough, because if the cake is still warm or hot, then the icing won’t stick. If you only used one pan, grease it again and put it back into the oven for again 20-25 minutes.
- Now it is time to prepare the icing. For that, stir together the butter, the vanilla sugar and the cream cheese until the mixture is light and fluffy. Then slowly add the powdered sugar.
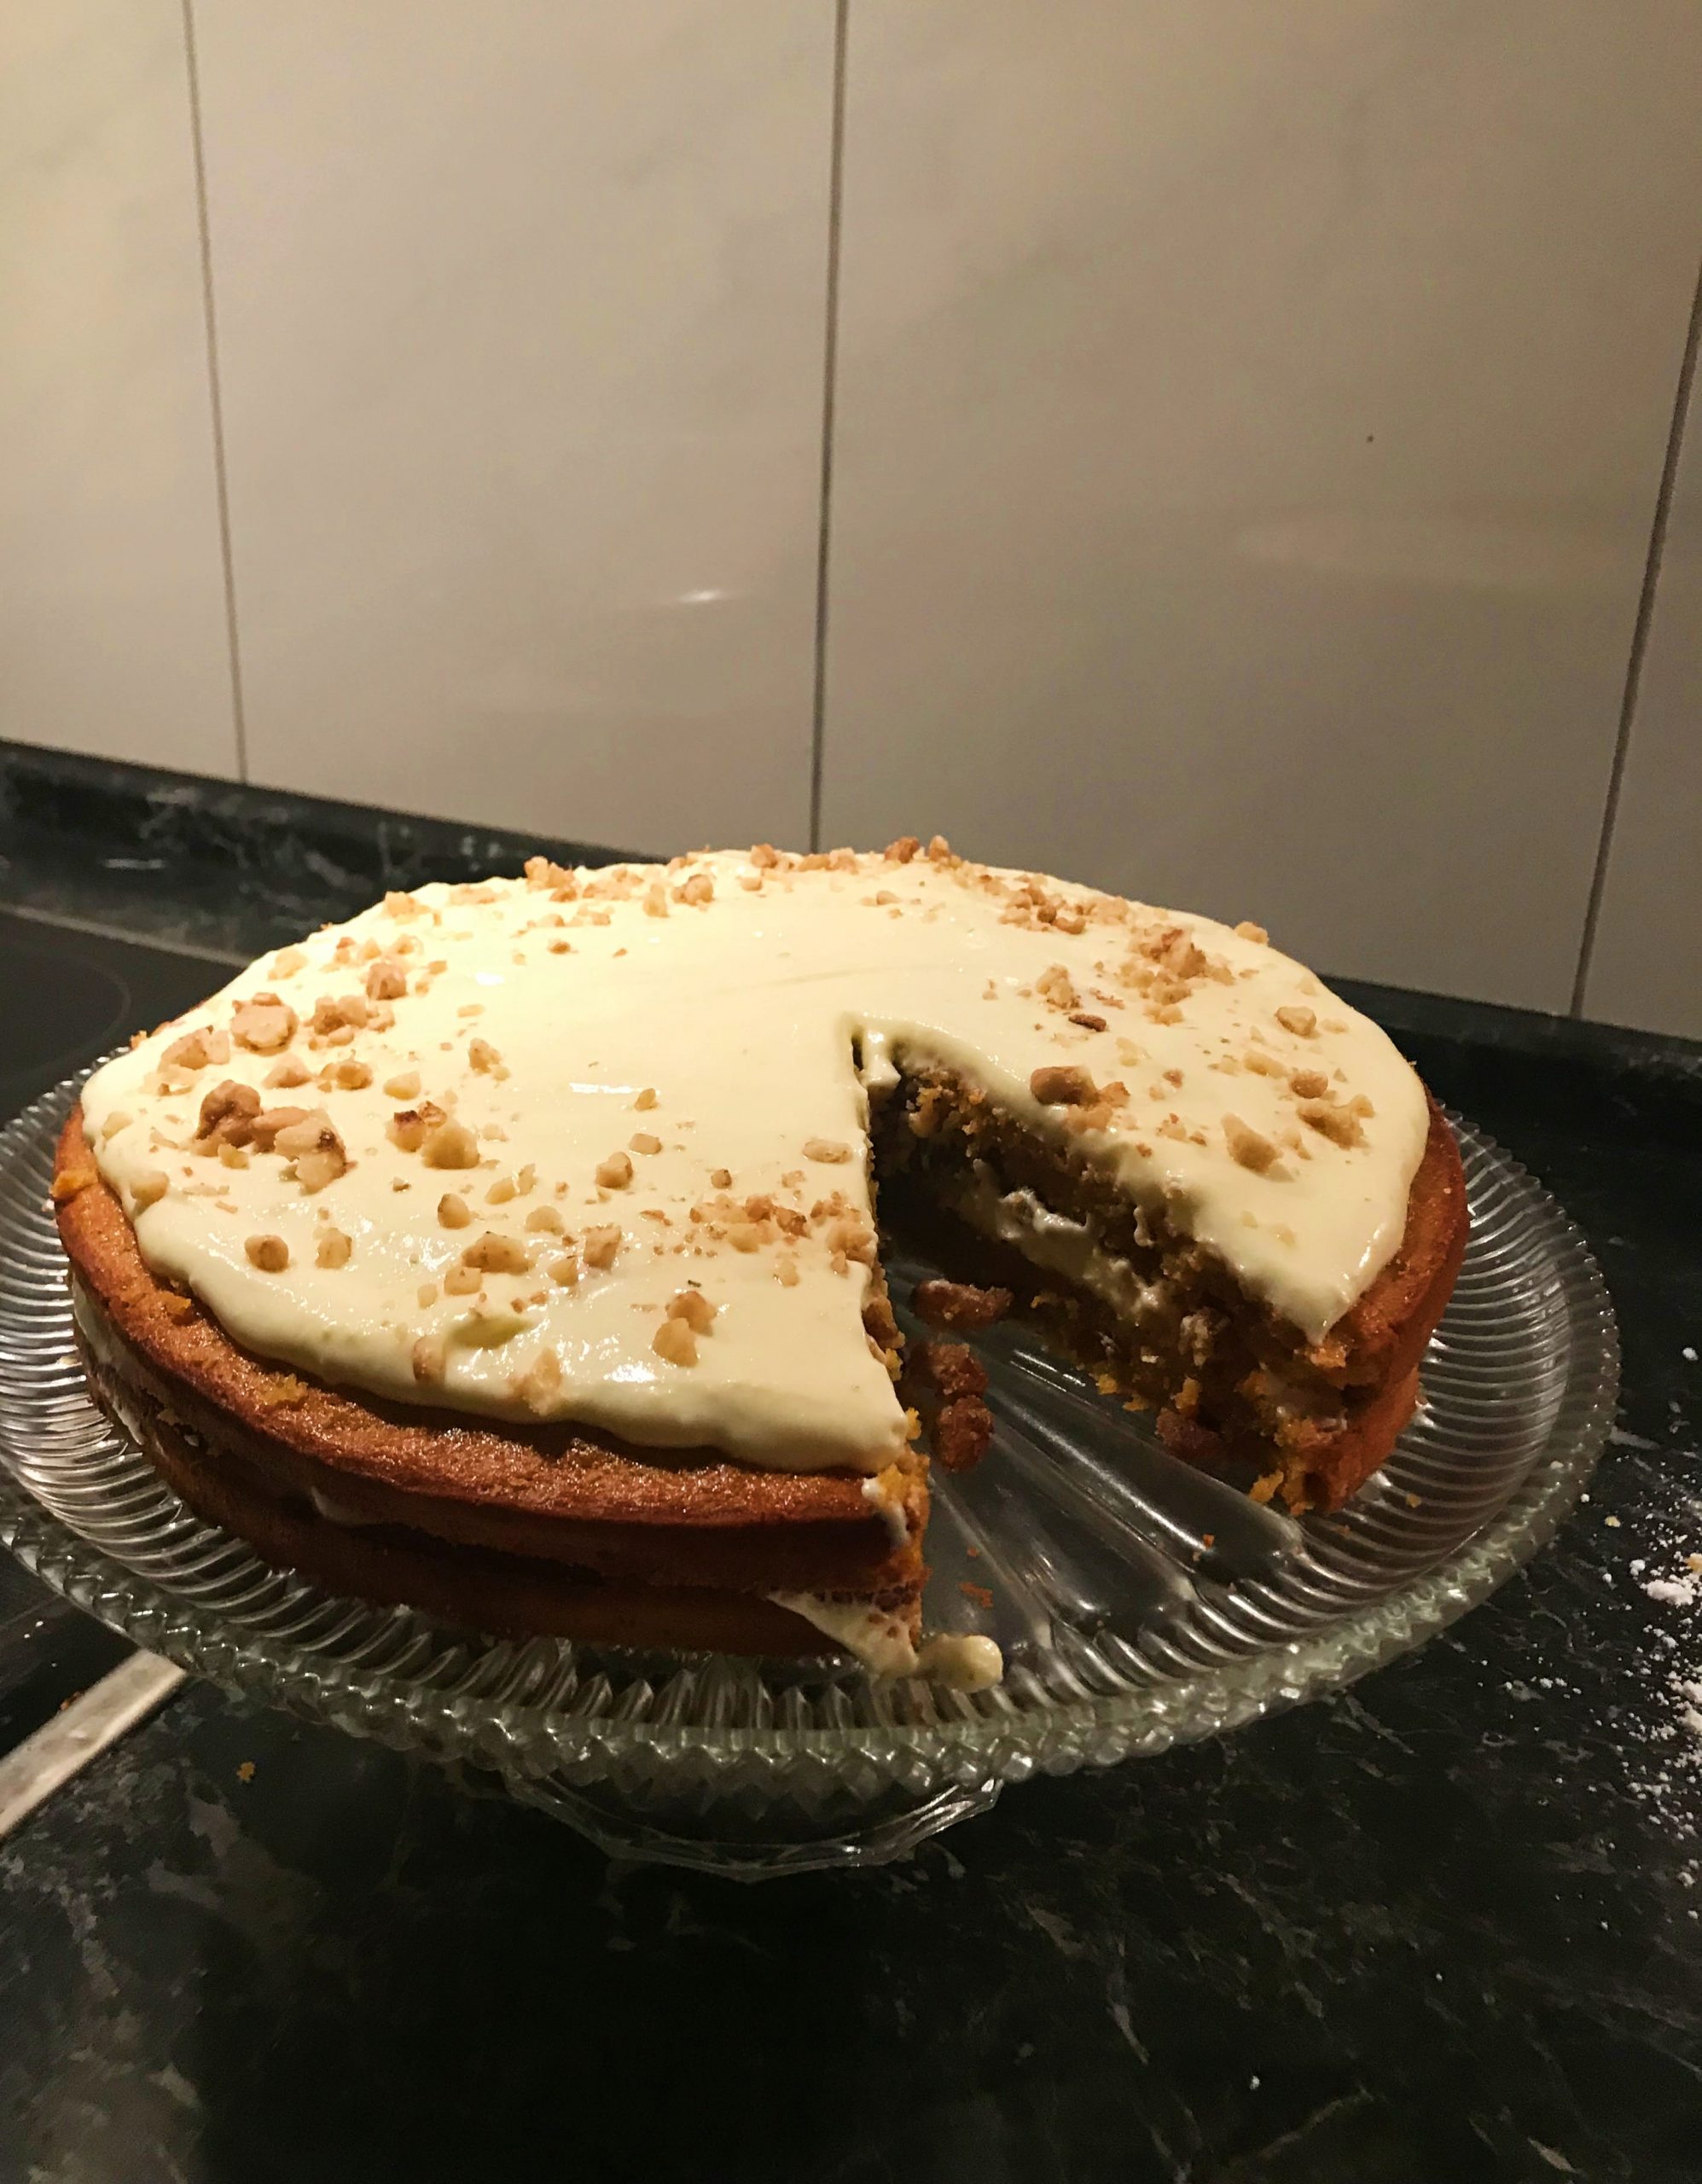
- When both cakes are cool, scratch the top of the cakes off, to get the icing to really stick to cake. Then, you can put the icing on the first cake. This is followed by the second layer of cake, which again is followed by the second layer of icing.
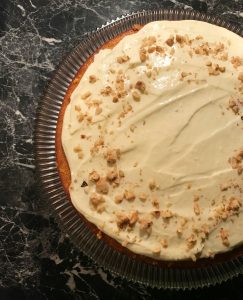
- Last step is to put the walnuts on the cake. They are not only a great addition to the taste, but also a pleasure to look at, if arranged neatly.
- Last step is to eat as much of the cake as you can!
If you would like to see a video of the baking, then check out our Instagram account here!
No Comment